Stacked rings are one of the easiest ways to add personality to your hands without committing to a single statement piece. But there’s a fine line between an effortlessly curated stack and a cluttered mess of metal. If you’ve ever wondered how to stack rings so they look intentional rather than accidental, this guide breaks down the exact principles stylists use to build balanced, wearable combinations.
This piece is part of our broader series on The Art of Layering: How to Stack Jewelry Like a Professional Stylist, but rings deserve their own deep dive because the rules of proportion and placement are a little different from necklaces or bracelets.
Start With a Foundation Piece
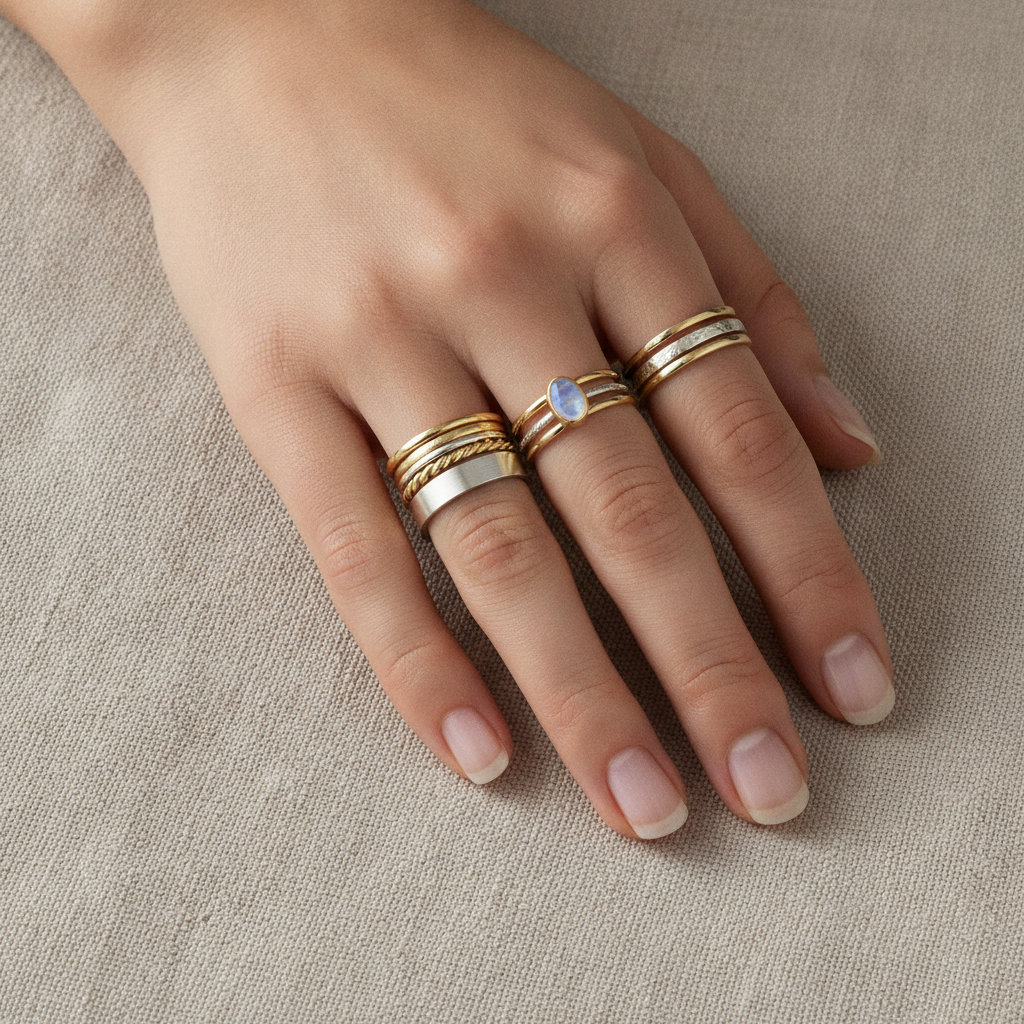
Every great stack needs an anchor. This is usually your most substantial ring — a signet, a chunky band, or a piece with sentimental value like an heirloom or engagement ring. Think of it as the piece everything else supports rather than competes with. Once you’ve chosen your foundation, build outward with thinner, more delicate rings that complement rather than compete for attention.
Balancing Thin and Chunky Bands
The biggest mistake people make when stacking rings is pairing pieces of similar width, which creates visual monotony instead of contrast. A good rule of thumb is the 1-2-3 method: one statement ring, two mid-weight bands, and three delicate stackers. This creates a natural visual hierarchy that draws the eye without overwhelming it.
If your foundation piece is bold and wide, let the rest of your stack taper down in size. Conversely, if you’re stacking on a smaller finger like the pinky, keep every piece slightly thinner to avoid a bulky, uncomfortable look.
Mixing Metals Without the Mismatch
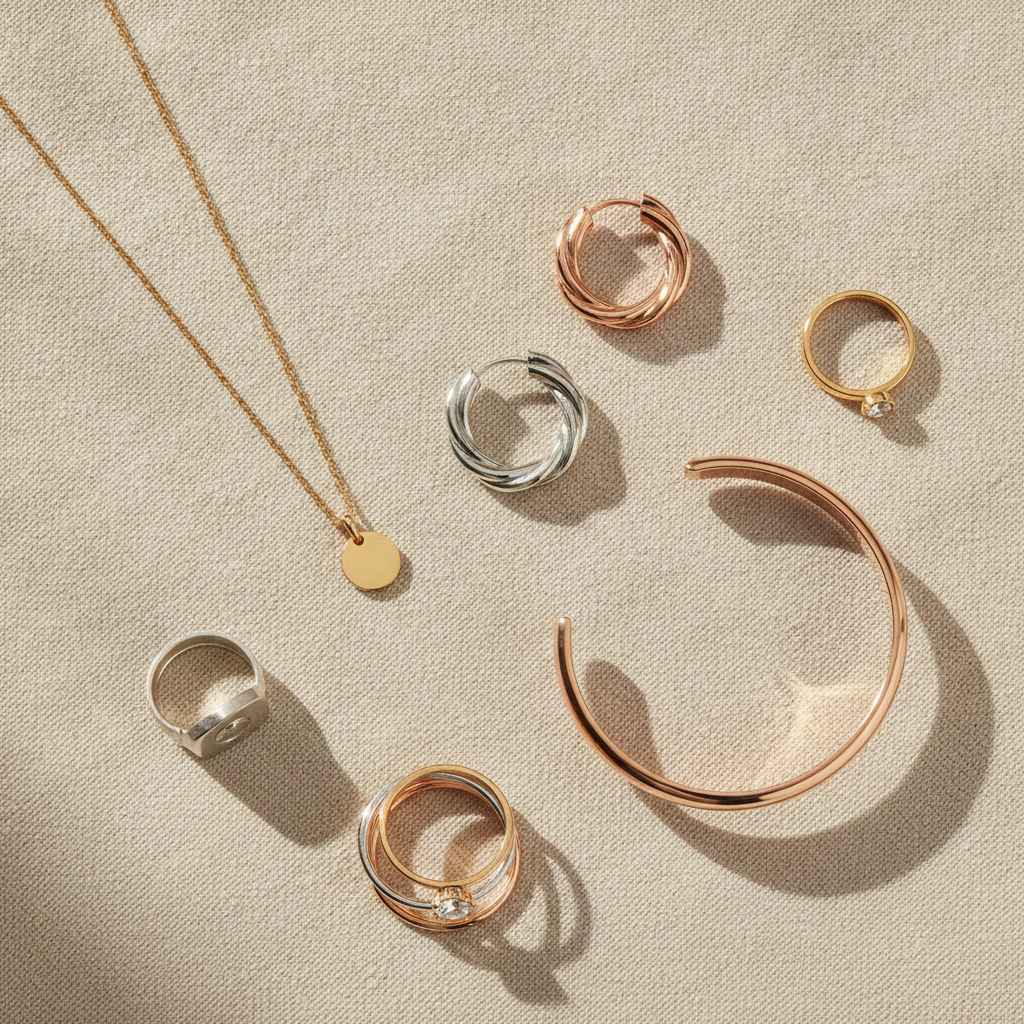
Gone are the days when gold and silver couldn’t share the same hand. Mixed metals are not only acceptable now, they’re often the mark of a well-styled stack. The key is intentionality: choose one dominant metal tone (say, gold) and use the secondary metal (silver or rose gold) as an accent in one or two pieces, not evenly split down the middle.
For a deeper breakdown of pairing gold, silver, and rose gold across your entire jewelry wardrobe, check out our companion guide, Mixing Metals in Jewelry: The Modern Rule-Breaker’s Guide to Gold and Silver. The same 70/30 ratio principle discussed there works beautifully when applied to ring stacks specifically.
Incorporating Gemstones and Texture
Texture is what elevates a stack from “pile of rings” to “styled look.” Mix smooth polished bands with hammered, twisted, or braided textures. When adding gemstone rings, treat them the way you would a piece of art in a room — one or two focal stones are plenty. Too many colored stones competing next to each other can make the hand look busy rather than intentional.
A helpful trick is to let your gemstone ring sit slightly separated from your metal bands, either on an adjacent finger or with a thin gold band buffering between them. This gives the eye a place to rest and keeps the color from feeling overcrowded.
Choosing Which Fingers to Stack
Deciding between a single-finger tower versus spreading rings across multiple fingers changes the entire vibe of your look.
Single-Finger Towers
Stacking three to five rings on one finger creates a bold, editorial look that draws immediate attention. This works best on the index or ring finger, where there’s enough length to support multiple bands without looking cramped. Keep proportions graduated — slightly larger rings at the base, tapering to thinner ones toward the fingertip.
Multi-Finger Spreads
For a more casual, everyday feel, distribute two or three rings across different fingers instead. This approach feels less formal and pairs naturally with layered bracelets and necklaces, similar to the balanced distribution discussed in our Bracelet and Bangle Stacking guide. A common combination is a statement ring on the index finger, a delicate band on the middle finger, and a simple stacker on the pinky.
Common Stacking Mistakes to Avoid
Even with the best intentions, a few missteps can throw off an otherwise great stack:
- Overcrowding: More than five rings per hand often reads as cluttered rather than curated. Leave breathing room between pieces.
- Mismatched proportions: Pairing an ultra-thin band directly against a chunky statement ring without a transitional piece can look jarring instead of intentional.
- Ignoring comfort: Rings that are too tight together will rub and wear down over time. Make sure your stack still allows for natural hand movement.
- Too many focal points: If every ring is trying to be the star, nothing stands out. Let one piece lead and the rest support.
Seasonal and Occasion-Based Stacking
Your ring stack can flex with the season and setting, just like the rest of your jewelry rotation. In warmer months, lean into lighter, thinner bands and colorful gemstones that catch the light — think turquoise, citrine, or pale pink sapphires paired with polished gold. In colder months, richer textures like hammered finishes, garnet, or smoky quartz feel more grounded and cozy.
For everyday wear, keep your stack minimal — two or three pieces that won’t catch on gloves or sleeves. For special occasions, this is the time to bring out your full tower: a cocktail ring paired with delicate bands creates a polished, formal look perfect for evening events. As with necklace layering, the occasion should always inform how bold or subtle your combination becomes.
Final Thoughts
Learning how to stack rings is really about learning restraint and rhythm. Choose a foundation, build with intention, mix textures and metals thoughtfully, and always leave room for the eye to breathe. With these principles in mind, you’ll be able to create ring combinations that feel personal, polished, and endlessly wearable.